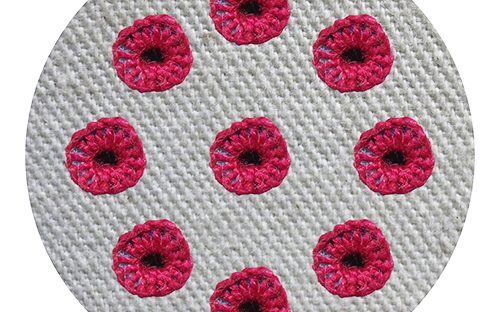
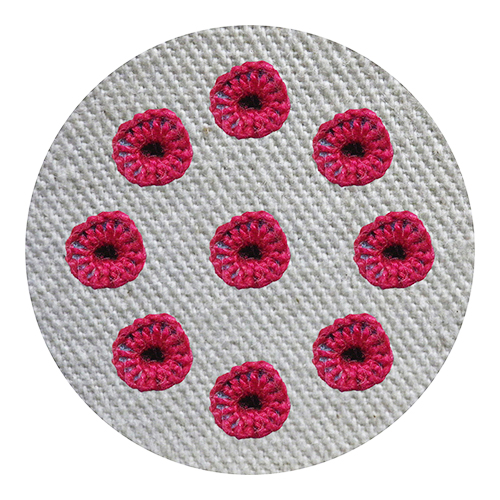
Whilst normally worked with a single strand of stranded cotton or silk, the sample in the video is worked with perle #5 thread, for the sake of clarity. There is a second sample worked with perle #12 thread. Neither of them uses the threads that you would use to work on a project but with these threads, you should be able to see what to do.
In the video clip on the tuition page, the small samples were worked with perle no. 5 thread on straight lines. If you wish to experiment with the stitch before you work it onto your project, work on similar lines with similar thread.
- With a heat erasable pen, draw small circles between 5 and 10 mm in diameter.
The stitch instructions and diagrams appear below, with the video clip at the bottom of the page. If you would like a printable version, click here.
Working the stitch:
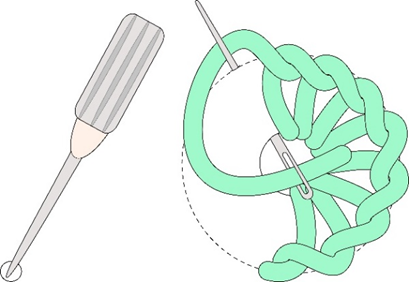
- In the middle of the circle that you have drawn, pierce the fabric with a tailor’s awl, pushing it all the way down to the handle.
- Come up on the line that depicts the outside circle of the eyelet.
- Go through the hole that you created with the awl, coming up a little further along the outside line (in either direction), catching the loop of the thread and pulling through to create a buttonhole stitch.
- Keep working buttonhole stitches in this way and when you get back to where you started.
- Catch the last buttonhole stitch with a small couching stitch.
And now for the video clip that covers all of the above.
(Don’t forget to click the icon in the bottom right-hand corner to get it to full screen).