There are two versions of Outline Stitch in the video clip on this page. They are listed in the table below, in the order is which they appear, with the starting time for each variety in the right-hand column.
| Basic Stem Stitch | 9 seconds |
| Whipped Stem Stitch | 1 minute 3 seconds |
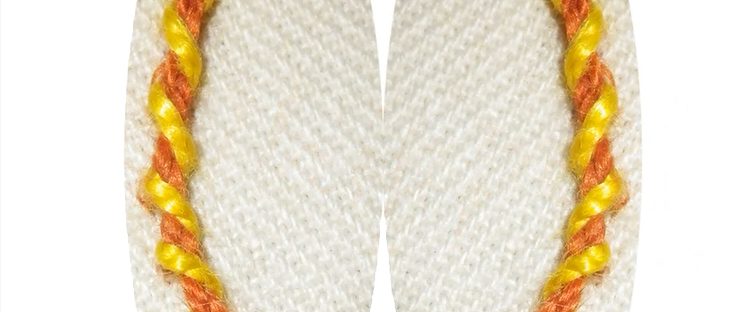
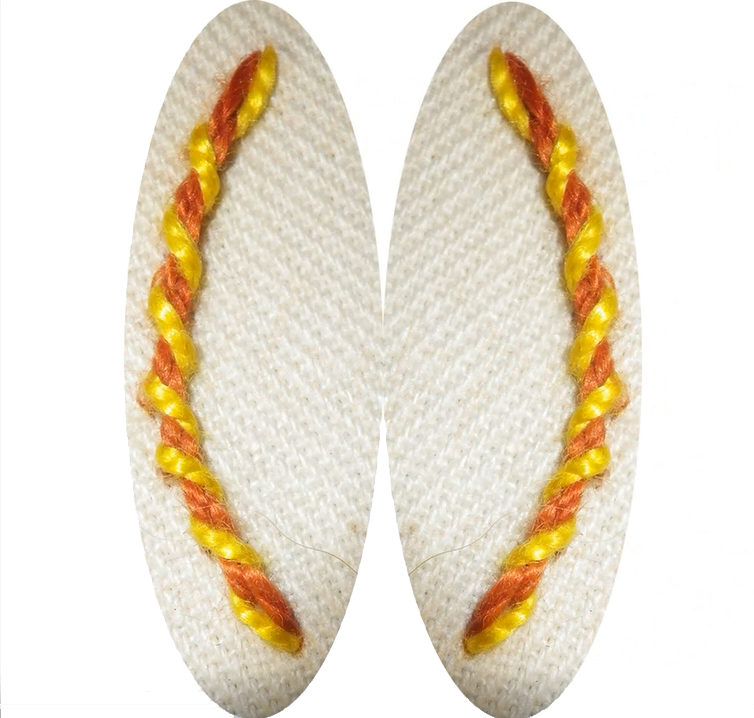
In the video clip on this page, the small sample was worked with perle no. 5 thread on a 3 cm curved line. If you wish to experiment with the stitch before you work it onto your project, you should work it along a similar line with similar thread.
- With a heat erasable pen, draw a 3 cm curved line on your cloth.
Working the stitch:
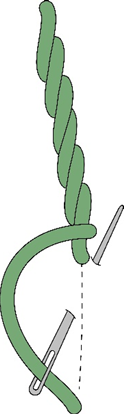
- Working from top to bottom, come up slightly to the right of the line.
- If you are working with the thicker perle #5 thread, your stitch length will be about 5 mm long. Finer threads would need correspondingly shorter stitches.
- Leaving a stitch length space, go into the fabric slightly to the right of the line, coming up halfway back to the right of the line.
- Pull through.
When using stem stitch as an outline stitch, come up on the line and go in on the line. Refer to the instructions and video clips for outline stitch at this link.
Whipped Stem Stitch
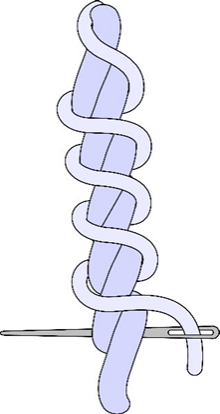
- To whip stem stitch, bring your needle up adjacent to the beginning of the line of stem stitch.
- Take your needle and thread over, then under the section where that stitch and the next stitch lie adjacent to one another.
- It is advisable to use a tapestry needle when whipping.
- A contrasting colour thread is often effective.
And now for the video clip that covers all of the above.
(Don’t forget to click the icon in the bottom right-hand corner to get it to full screen).