Downloadable and printable PDF instructions.
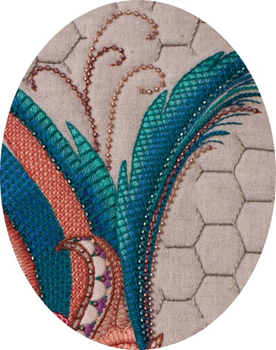
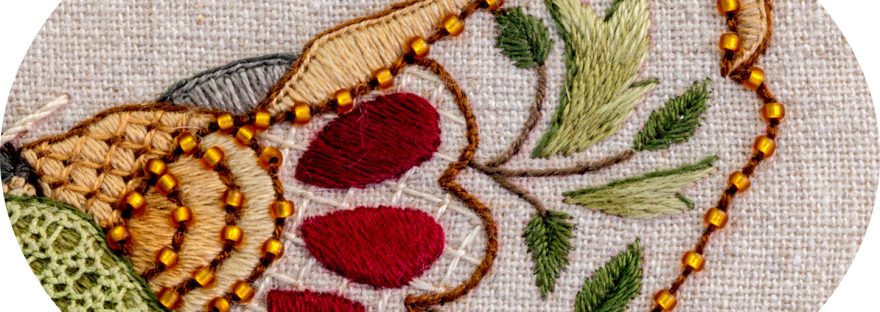
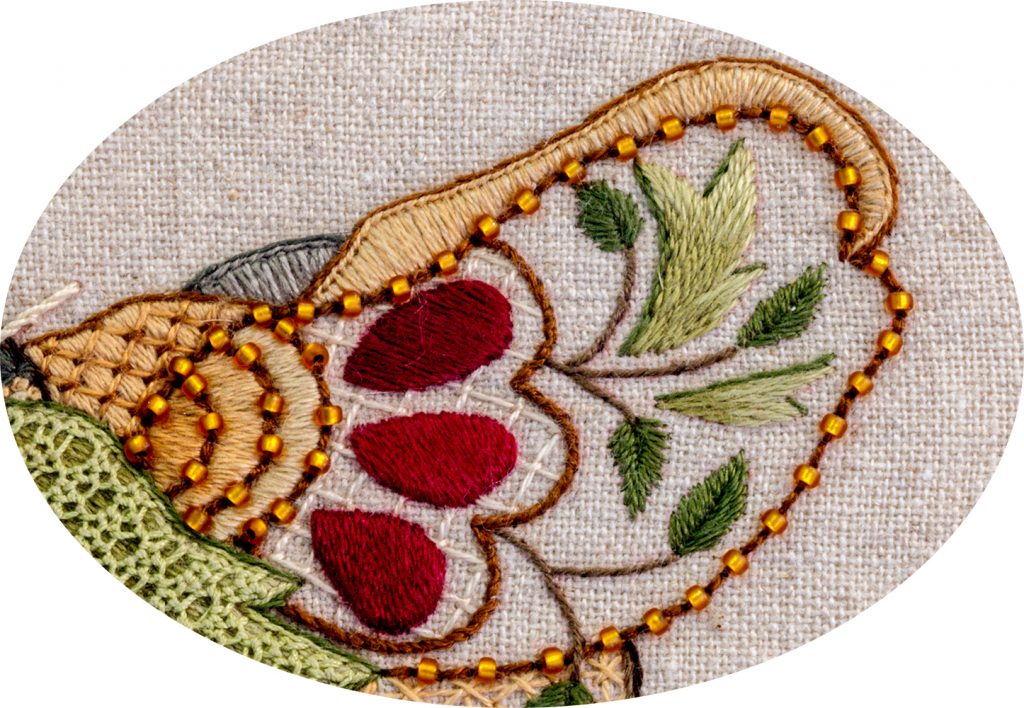
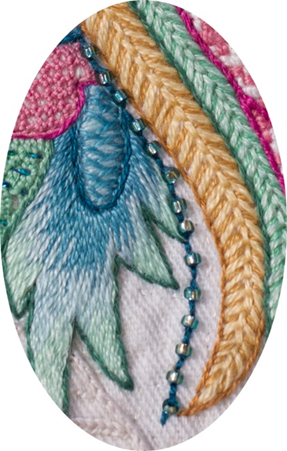
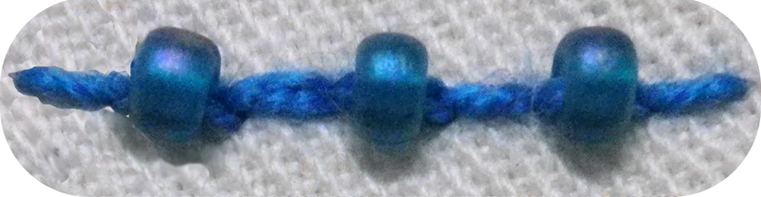
Beaded backstitch is useful for depicting beaded outlines and also, tendrils or feathers. It gives a lighter line than solid and heavier bead couching because the beads are broken up by the backstitches in between each bead.
When recording the video clip on the tuition page, I used a doubled over perle #12 thread on a size 7 embroidery needle. That was for clarity and under normal circumstances, when attaching beads to a project, I will use a doubled over single strand of cotton on either a size 10 or 12 bead embroidery needle or, better still, a size 10 or 11 ‘sharps’ quilting needle.
Both of these needles have a small eye that will fit through even the tiniest, size 15° bead and my preference for the quilting needle is because they don’t bend as quickly as a beading or bead embroidery needle.
In the video clip, I used a bright blue thread for clarity but once again, under normal circumstances, I would choose the colour of my thread based on the bead I am attaching, choosing one that is close to, or darker than, the colour of the beads.
Working the stitch:
In the diagram below, the stitch is worked from left to right.
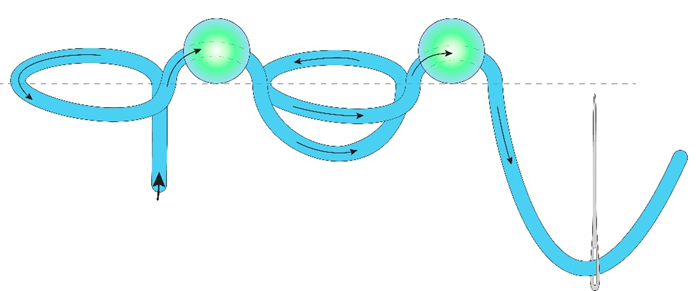
- Thread your bead embroidery, or sharps quilters needle, with a single strand of cotton or silk.
- Double it over and tied the ends together with a knot.
- Come up a backstitch length away from the beginning of the line (on the left).
- Go in on the end of the line and come up again through the same hole that you came through when you started the backstitch.
- Pick up a bead.
- Moving to the right, push the bead back to where the thread comes out of the fabric, sliding the needle between the two strands of cotton, pushing the bead with the needle.
- When you can’t push it back any further, go into the fabric at that point thereby making the stitch the exact size you need to hold the bead firmly in place.
- Come up a backstitch length beyond the bead and finish the backstitch by going into the same hole that you went into when you attached the bead.
- Moving forward again, attach a bead and keep going in this way to complete the line.
Worth noting is that in most circumstances, you will start with a backstitch and end with a backstitch, particularly if you are making a tendril or a feather. To this end, as you get towards the end of the beaded backstitch line, try to space your stitches so that you will end the line with a backstitch.