Downloadable and printable PDF instructions.
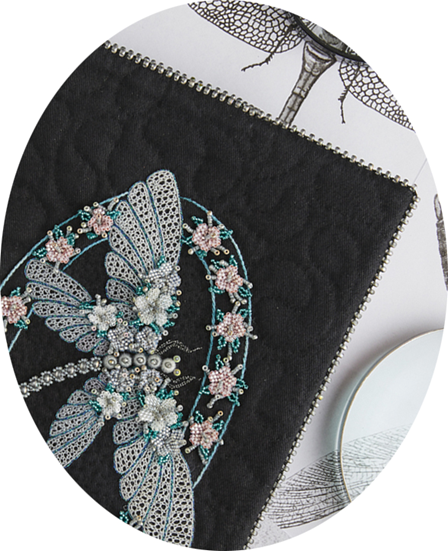
Beaded Palestrina stitch is an embroidery stitch that is enhanced with the addition of beads in the construction of the stitch. It is particularly useful when used as an edging to finish off an article such as the book cover in the image below.
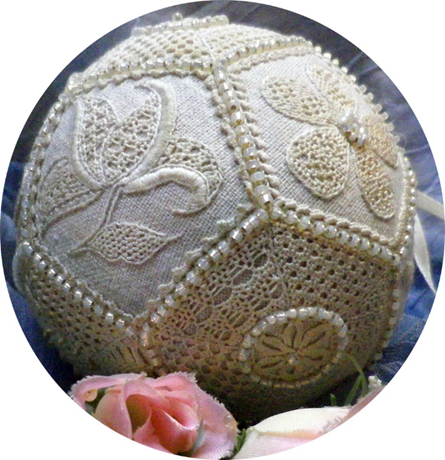
It was also used to mask the edge stitching that joined the patches of the pomander in the image below.
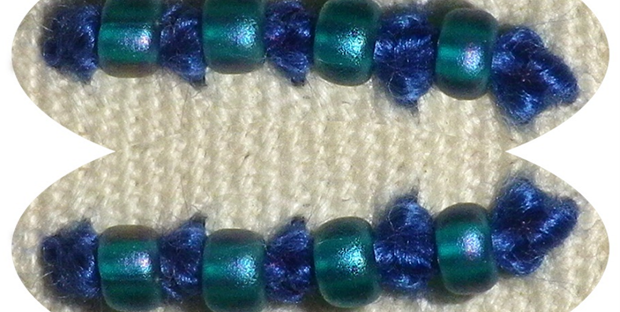
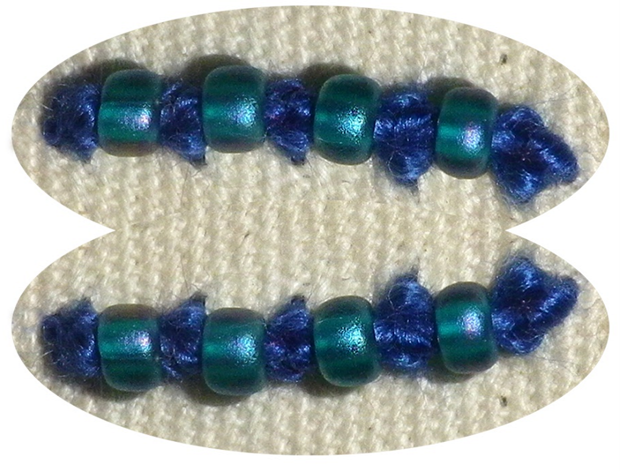
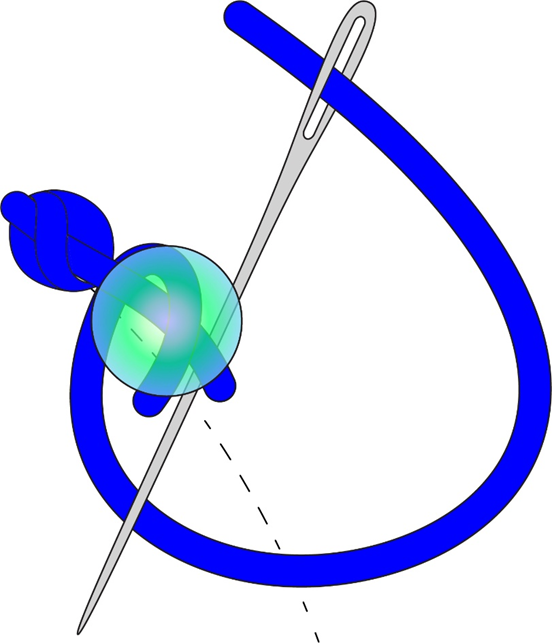
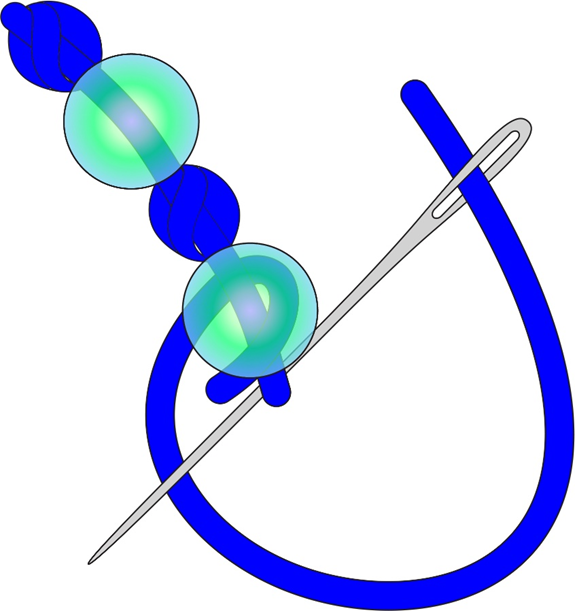
The threads and beads
In the video clip, I used perle #5 thread for the sake of clarity. When working it onto a project, it will depend entirely on what I’m going with it.
If I was using it to edge a large article like, for example, the book cover above, I might use 3 strands of cotton combined with a size 8°. The knots between the beads will show if I use 3 (or even 4) strands. If I am using a large bead like the size 8°, then I can use a fairly large needle – probably a size 8 embroidery needle – because it will go through the hole in the bead and also, it will accommodate 3 or 4 strands of thread. On the other extreme, if I was using the technique to attach a small, size 15° bead, then I would use a doubled over single strand of thread on a smaller bead embroidery or ‘sharps’ quilting needle. The quilting needle is useful because it doesn’t bend as quickly as any kind of bead embroidery or beading needle.
Working the stitch:
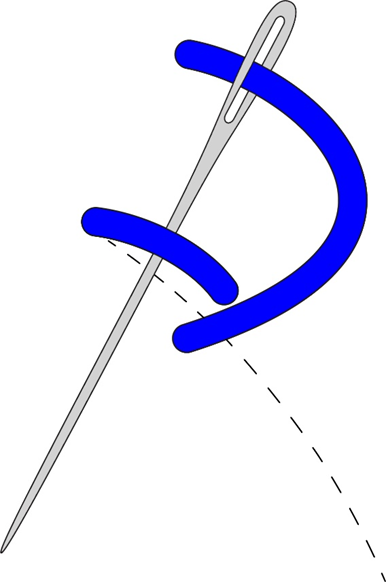
- Unlike (un)beaded Palestrina stitch, when you are using this technique to attach beads, you need to start with a knot.
- Come up at the beginning of the line and, working downwards towards yourself, leaving 2 to 3 mm of space, scoop under the line by going in on the right of the line, coming up on the left of the line and pulling through.
- From where you have come up on the left, go under the diagonal first stitch that you created in the first step.
- As you pull through, make sure that the thread you are pulling through is facing towards the top.
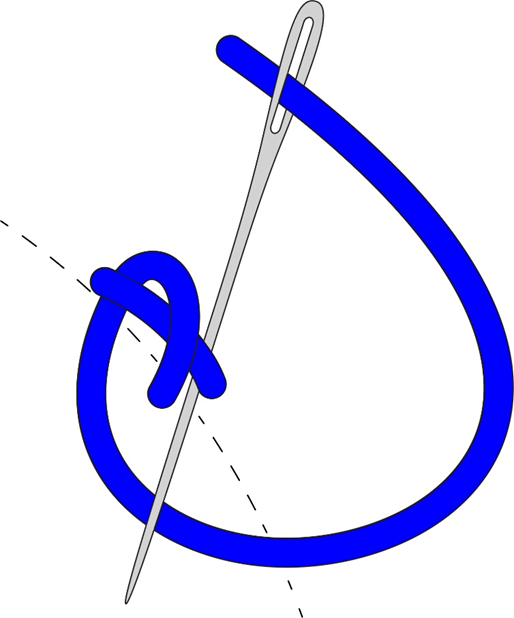
- Guide the working thread around towards the right and take the needle under the diagonal stitch, to the right of the loop that you worked in step 2 above.
- Making sure that the tip of the needle goes over the working thread that has come from the left, pull through to tighten the knot.
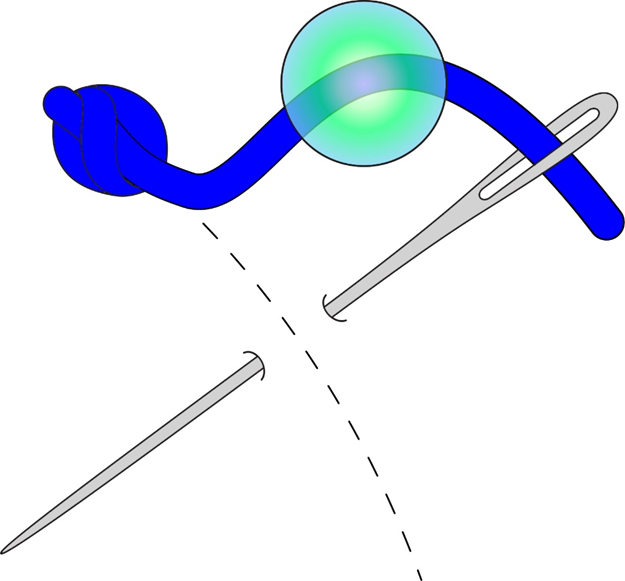
- Pick up the bead and push it back along the thread until it touches the knot.
- Keeping it there, you can estimate where you will need to go in on the right of the line, to scoop under the fabric to the left of the line, as described in the first step above.
- Scoop under the line and thereafter, follow the steps described in steps 2 and 3 above, working behind the bead but making sure that once you pull through to tighten the knot, it lies just below the bead.
- Continue down the line repeating steps 1 to 4 above, spacing the knots and beads so that they make an even line.
- When you have completed the last knot at the bottom of the line, go into the fabric immediately after the knot and end off at the back.
And now for the video clip that covers all of the above.
(Don’t forget to click the icon in the bottom right-hand corner to get it to full screen).