Downloadable and printable instructions
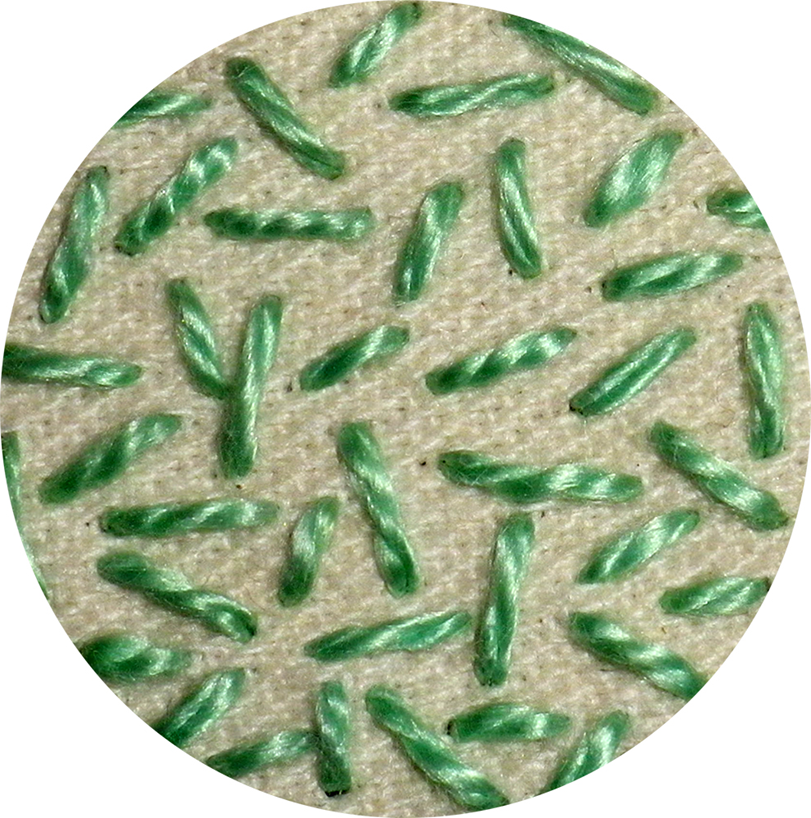
In the video clip at the bottom of this page, the small sample was worked with perle #5 thread on a circle measuring 30 mm in diameter. If you wish to experiment with the stitch before you work it onto your project, draw a similar circle on your cloth with a heat erasable pen using the template on the downloadable instructions.
Working the stitch:
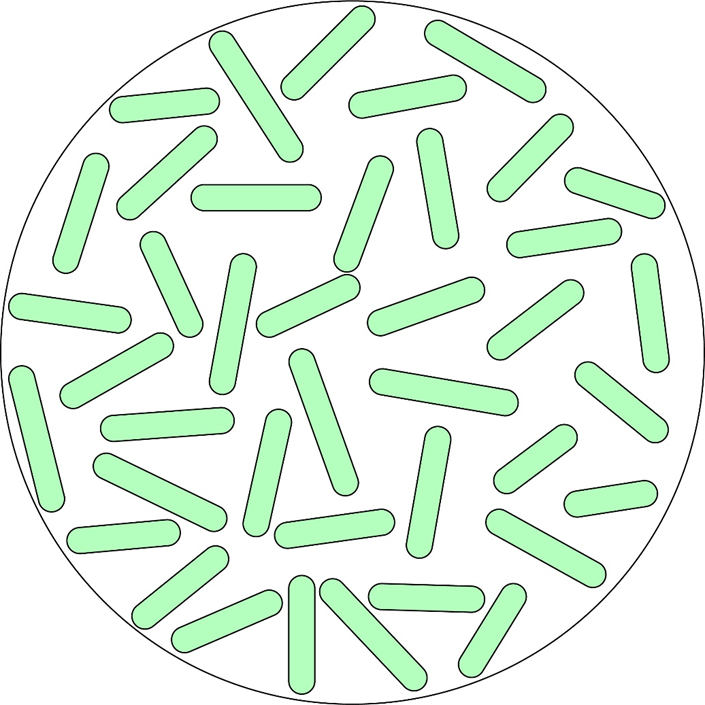
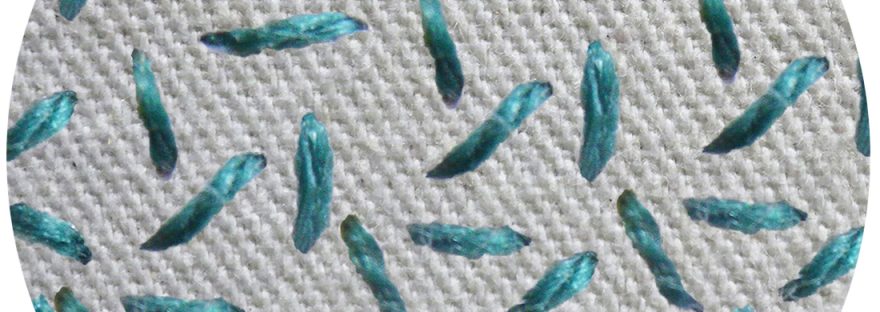
- Fill the space with small, straight stitches that face in different directions and do not touch each other.
- More difficult than it looks at first glance, you should make sure that all the stitches that are close to one another should not lie at the same angle.
- All the stitches should be done at random. Try to make them of similar lengths.
Depending on what the project requires, I find that using a single strand of cotton and making the stitches slightly longer, rather than shorter, gives the best effect.
And now for the video clip that covers all of the above.
(Don’t forget to click the icon in the bottom right-hand corner to get it to full screen).