To jump to the section you would like to reference, click on the name of that section below:

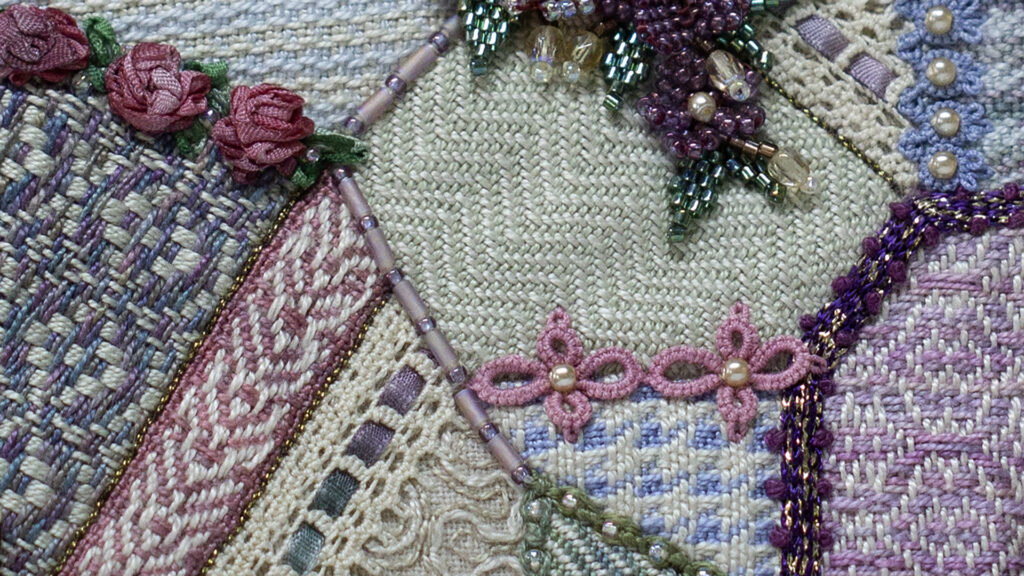
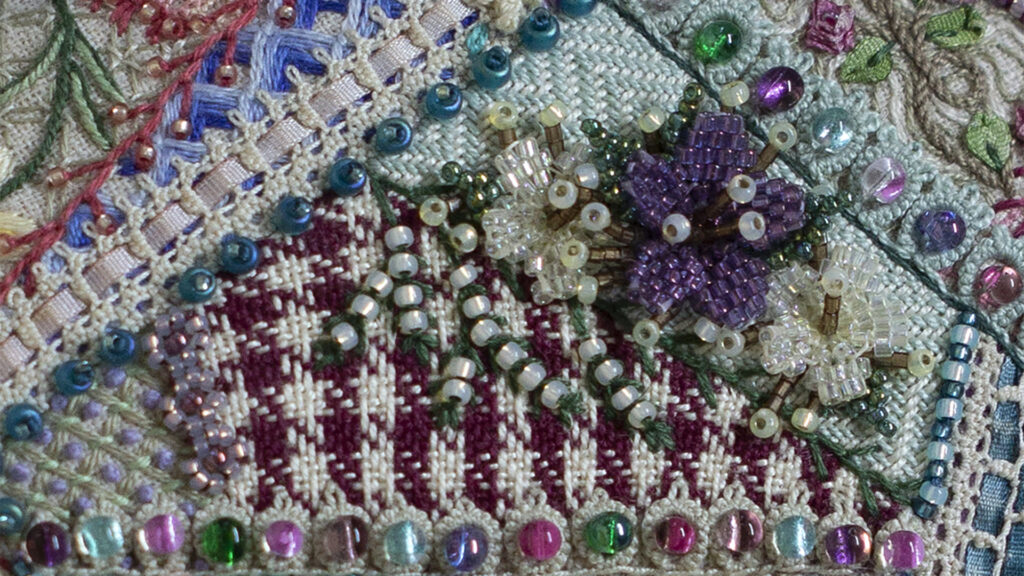
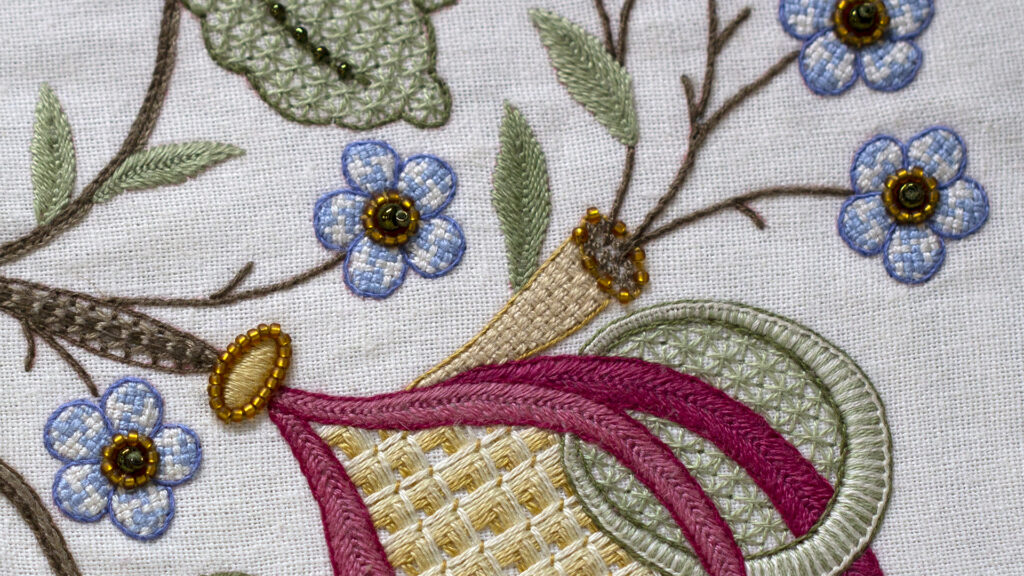
The needle weaving techniques in the Workroom have been tweaked and adapted to use as stitches to enhance the art of hand embroidery, giving the impression of applique.
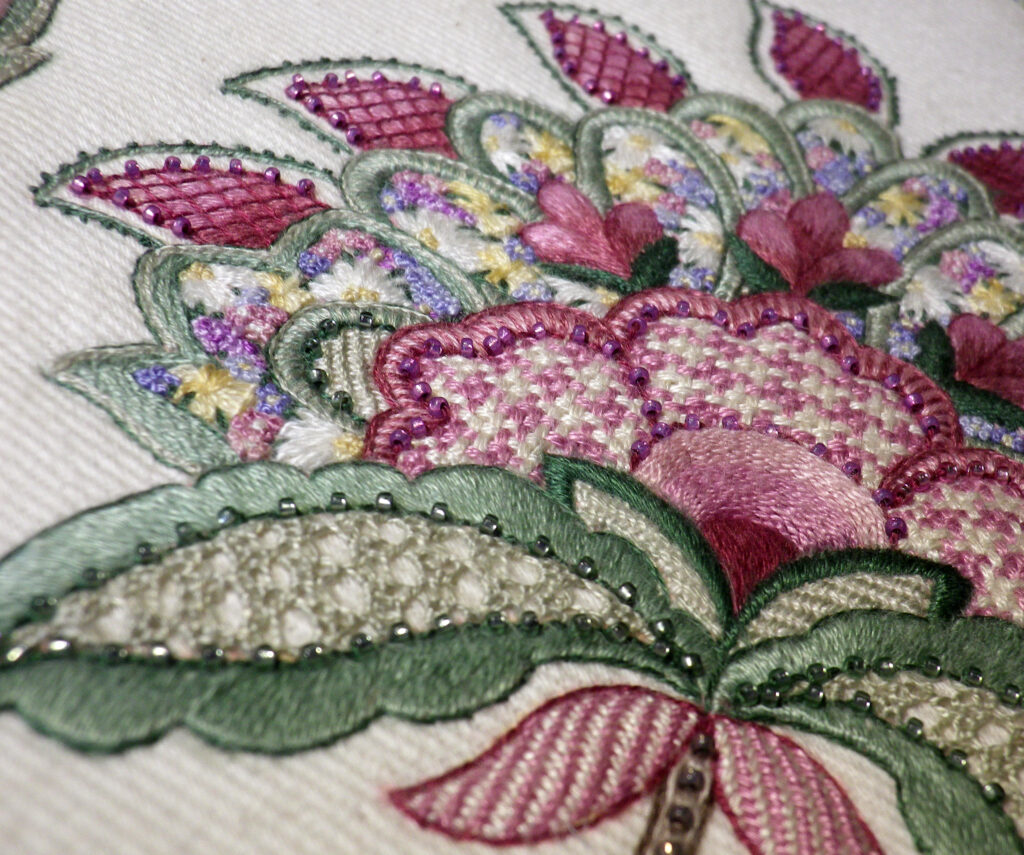
Modified from loom weaving patterns, they give you the opportunity to create fillers that resemble age-old woven patterns such a diagonal and herringbone twill, houndstooth check, gingham and many others.
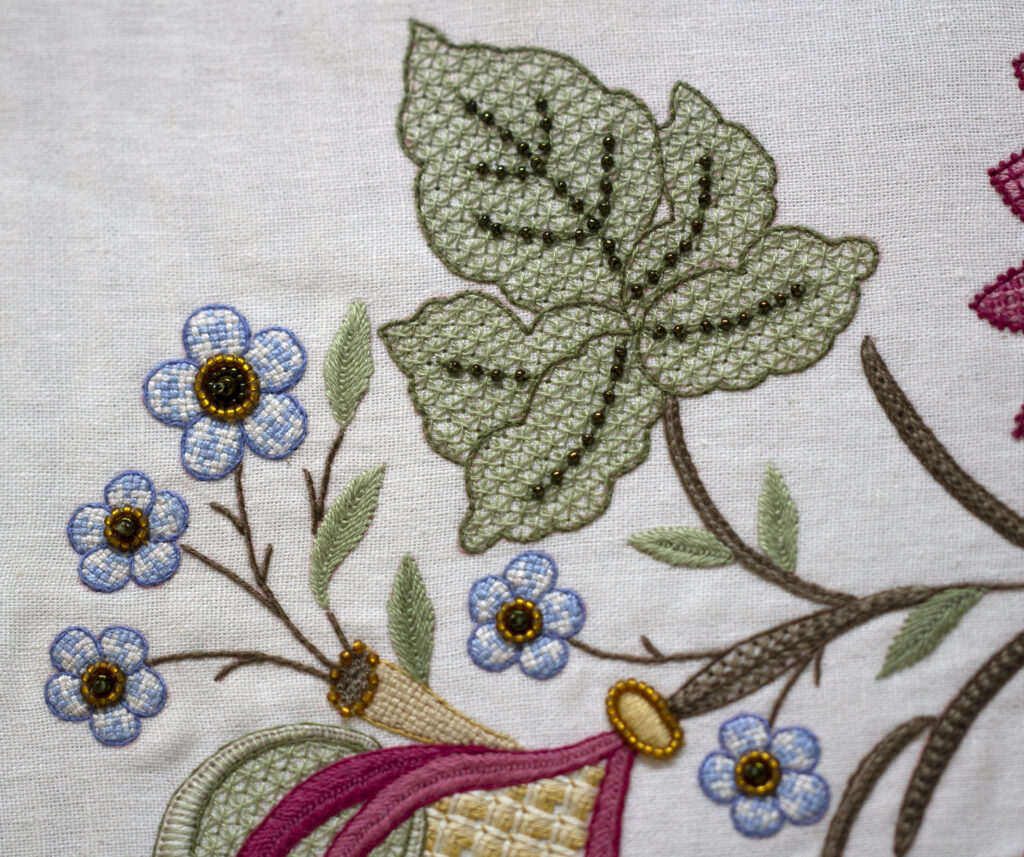
General Tips and Basic Knowledge
- All the weaving patterns in the Workroom are variations of the same technique.
Click here to access the stitch instructions. The sample is worked with perle #5 thread.

- Stitch the warp threads first, making sure that they start and end on the outline of the shape.
- The direction of the warp stitches will depend on what you want from the final weave but in general, it is best to work those over the shortest side of the shape. Techniques that make a pattern, a check, or a stripe may need to be placed in a specific direction.
- The warp stitches should be worked parallel to one another with even spacing.
- Leave just a sliver of the base fabric showing through between the warp stitches.
| If you work the warp stitches too close together, you will find it very difficult to count the threads when you work the weft stitches. |
- The pattern is formed in the weft stitches, and these should be worked at right angles to the warp stitches.
| The objective of working these needle weaving patterns into your embroidery project is to create the impression of having appliqued a piece of fabric into the space. It is therefore important that warp and weft stitches are horizontal and vertical, worked at right angles to each other. The finished space should look like a piece of fabric woven on a loom. |
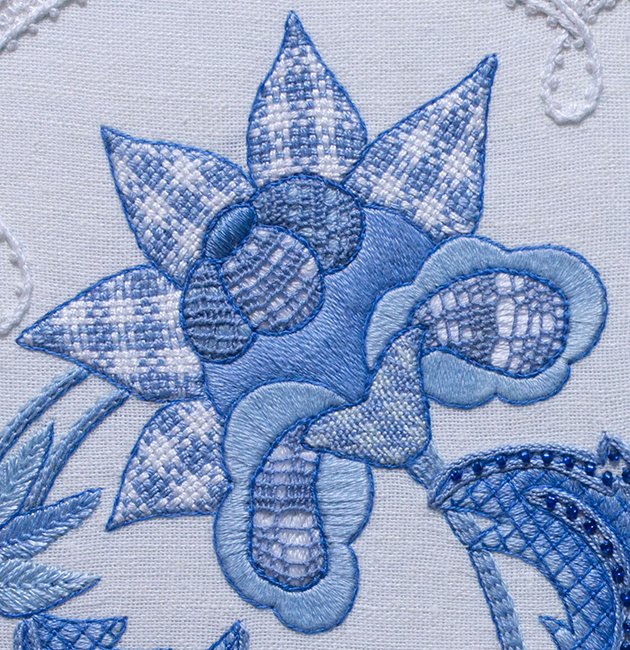
Threads and Needles

Tatting thread and Perle no. 12 are the best threads to use when weaving.
Use stranded cotton and metallic threads to create highlights, if you would like to do so, by following the weave adjacent to the line that you wish to highlight.
The patterns that feature in the Workroom have been divided into 5 categories:
- Basic Weaving
- Checks & Stripes
- Patterns
- Braids
- Textures
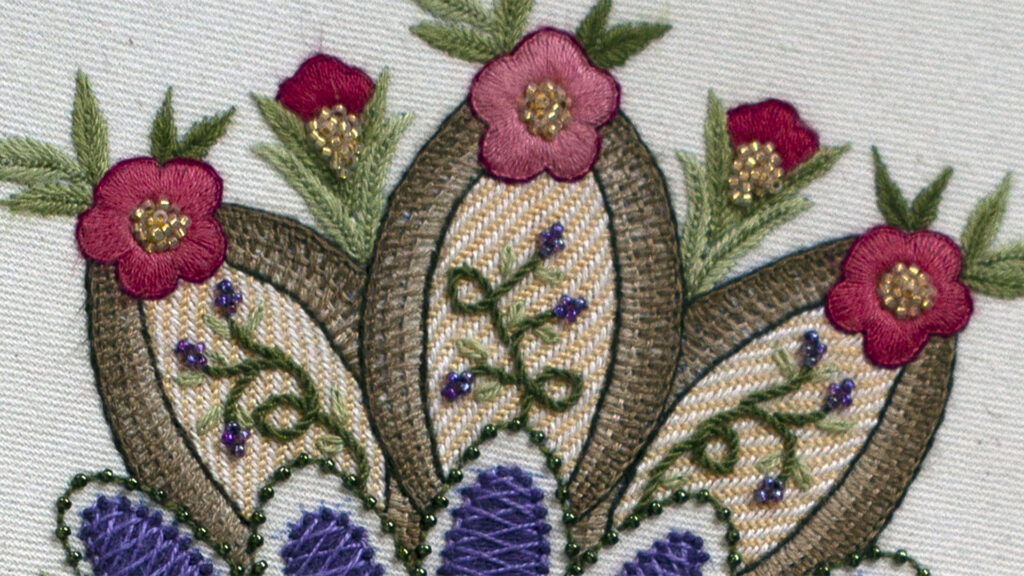
By playing around with thread colours, many of them are interchangeable.
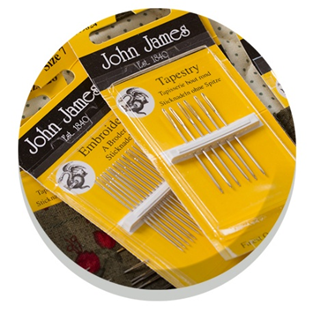
Use a sharp embroidery needle to work the warp stitches and a blunt tapestry need to weave the weft stitches.
The Edges
It is almost impossible to create a smooth edge to your weaving. Try to be as even and smooth as you can but be aware that you will need to either outline the area or cover the edge in some way.
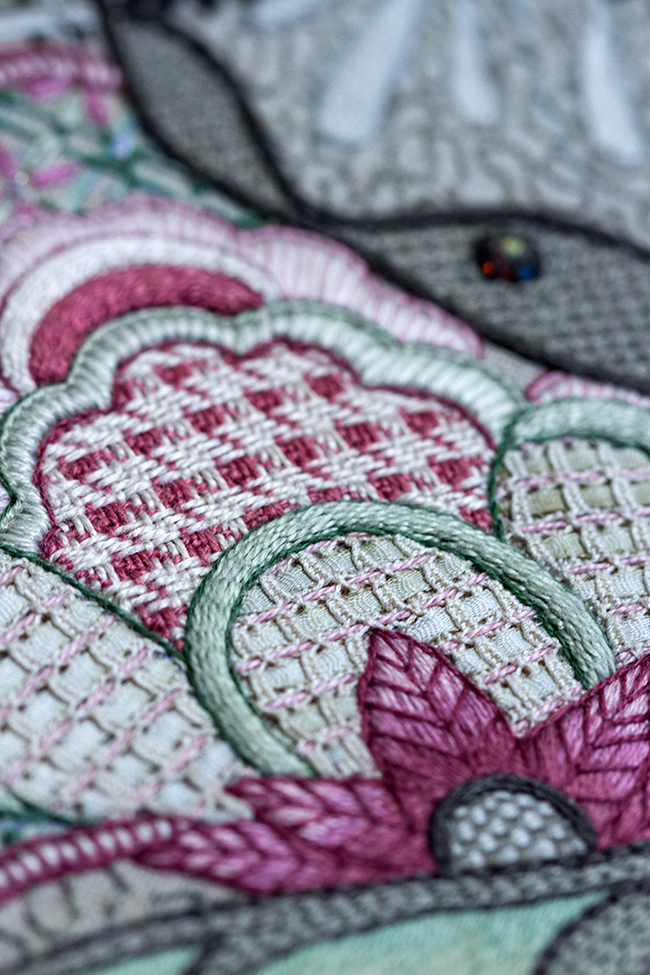
Crewel or needle lace stitches, beads or beaded objects and tatting are suitable for this task.
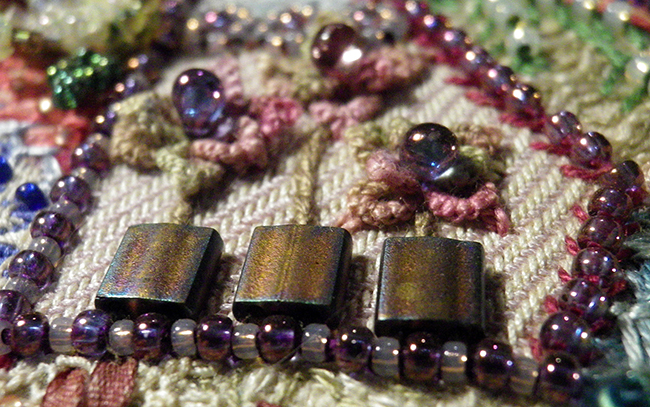
Once complete, woven areas are sufficiently stable to work simple embroidery over the top. In the image above, Tila bead ‘flower pots’ holding tatted flowers are placed on a needle woven background.
Getting Started
THE WARP STITCHES
- Using the weaving patterns in the Workroom to fill spaces in your embroidery will create an impression of fabric that has been appliqued on the base fabric of your project. Do not be tempted to follow the shape that you wish to fill. It is important that these techniques are working vertically and horizontally at right angles to one another.
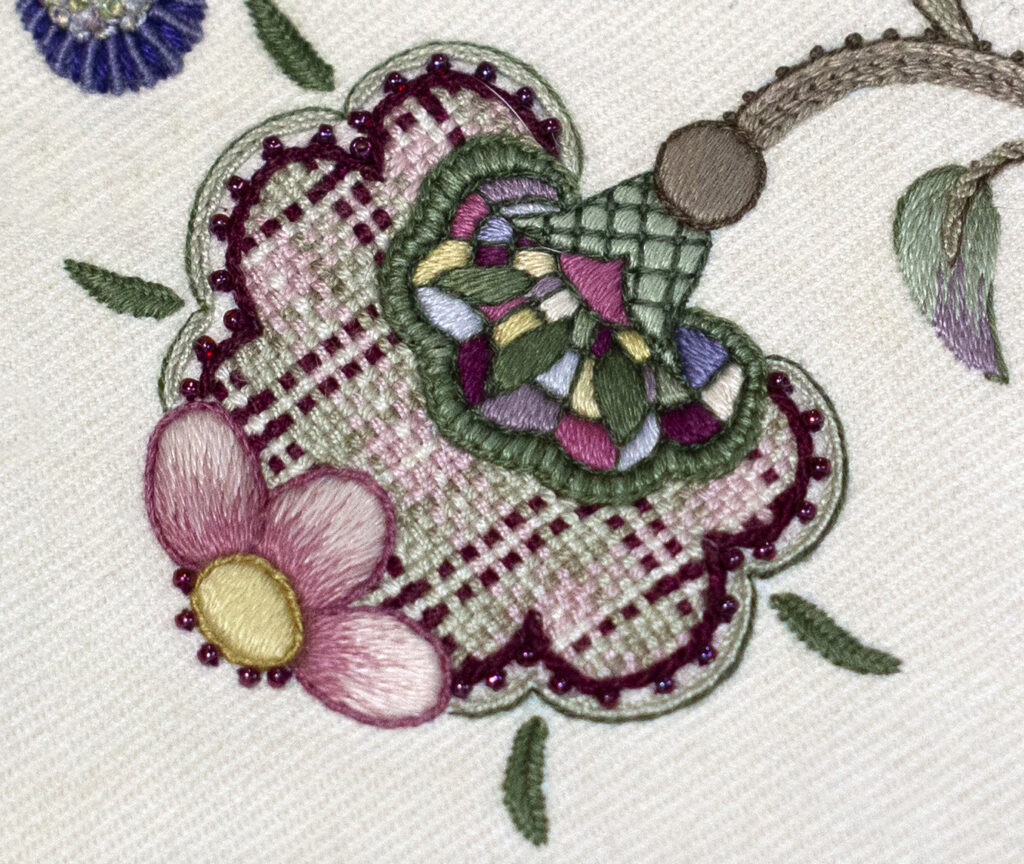
- Unless you want the pattern of the weave to work in an alternative direction, it is usually best to work the warp stitches over the shortest side of the shape because if any stitches are going to feel at all loose, it will be those.
- ALWAYS WORK IN A HOOP to prevent puckering of the base fabric.
- Make sure that the warp stitches are taut.

- As a rule, it is usually easier to start in the centre of the shape, working to the left or right, then returning to the centre and working in the opposite direction. This tends to make it easier to keep the angle of the warp stitches vertical.
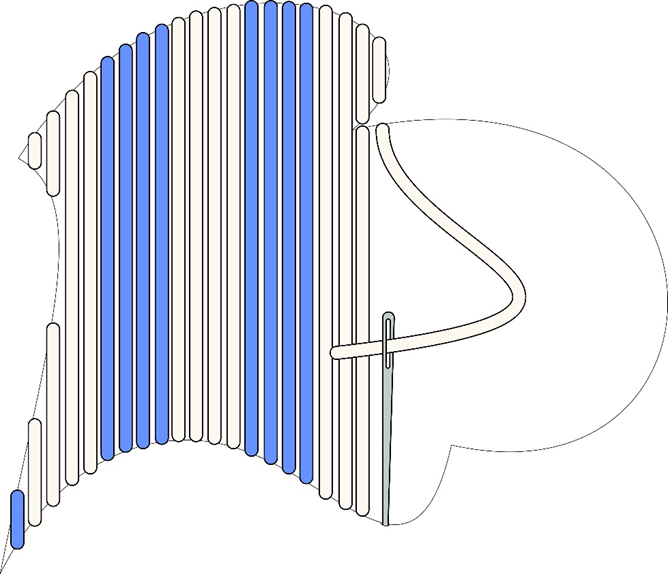
- Use a sharp (embroidery or crewel) needle to work the warp stitches and leave a space of approximately a thread’s width between each warp stitch.
THE WEFT STITCHES
- The weft stitches are worked, according to each individual pattern, at right angles to the weft stitches.
- It is the weft stitches that create the pattern in the weave.
- Use a blunt tapestry needle to work the weft stitches.
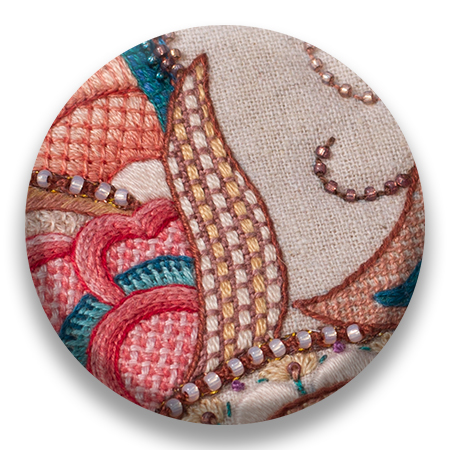

(Pattern: Texture no. 2)
- Always start the weft stitches at the widest point of the shape. This could be at one end of the shape as depicted in the diagram above.
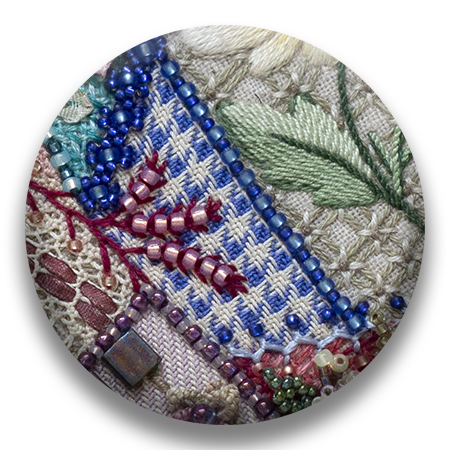
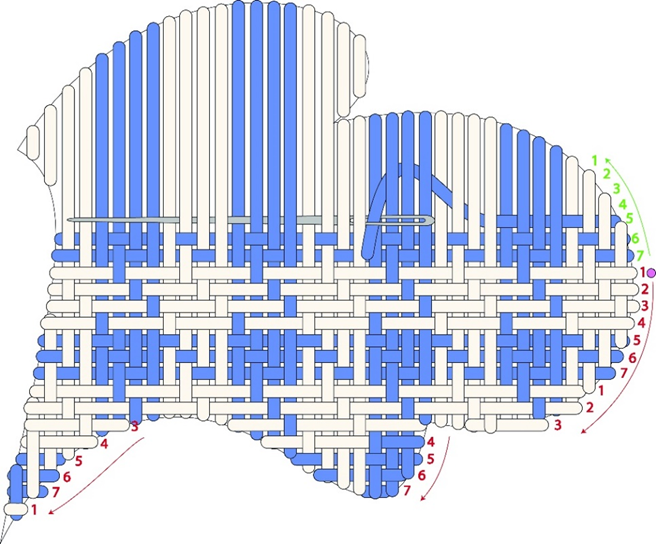
(Pattern: Checks and Stripes no. 1)
- Or, as is usually the case, it could be in the middle of the shape.
- When working from the middle of the shape, start on row 1 of the pattern. (See Keeping Your Pattern Intact below.)
- Work as many pattern repeats as you need to until you reach the bottom of the shape. The pattern repeat in the diagram above is 7 rows, so you are working from row 1 to row 7 each time.
- Return to the centre and work a reverse sequence of rows until you reach the top. This will mean that, in the diagram above you will work from row 7 to row 1 each time.
Keeping The Pattern Intact:

(Pattern: Checks and Stripes no. 1)
Having started at the widest point of the shape, you will have to decrease as the shape changes. You will still, however, need to keep the pattern of the weaving intact and you do this by always counting from the first warp stitch, but only going over or under stitches as they become available.
General Tips For Working The Weft Stitches:
- Like the warp stitches, weft stitches should also be spaced about a thread’s width apart.
- Weft stitches should be straight. If previous rows cause them to bow your stitches are too close together.
- When working the first weft stitch, pull the thread straight before going into the fabric at the other end. This will determine where you need to go in on the other side.
- If you are right-handed, always work from right to left, going back to the right-hand side for the beginning of each row. It’s impossible to work out where to start if you go backwards and forwards.
- If you’re left-handed, work from left to right. It will not make any real difference to the pattern.
- This will mean that you will have long pieces of thread on the back of your work. So what.
- The tapestry needle works as the shuttle to guide the weft threads over and under the warp threads.
- Loom weavers use a tool called a ‘beater’. It has teeth on the one side that are similar to a comb. This is used to push the weft thread up towards the previous weft thread at the end of each row. You will use your tapestry needle to do this.
- When working down, starting from the third row, as you go over and under the warp threads, push the needle up hard so that previous weft threads are pushed towards each other.
- When working in an upwards direction, as you go over and under the warp threads, push the needle down hard so that previous weft threads are pushed towards each other.
- The row that you are working on will always hang down a bit, but you should not be concerned as every row will eventually be pushed into place as you fill the space with weaving.
- If the row you are working on seems to not be fitting in as it should, it is usually because you have made a counting mistake in the previous row.


Your work is beautiful!! What I want to know is which part of the work to start with first….some parts must be done first and then finish off with the rest?…hope you understand my question?
Just follow what the project instructions tell you. They are written in the order you should work.