Downloadable and printable PDF instructions.
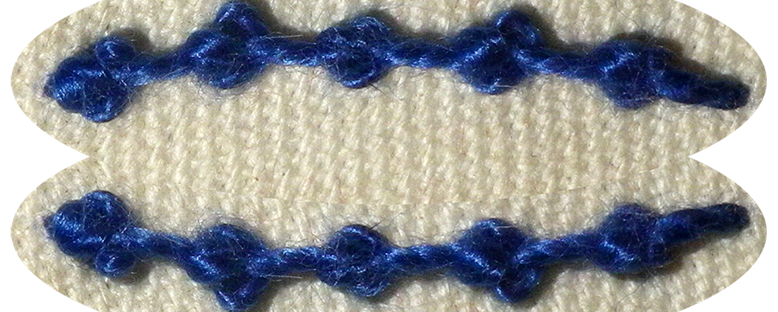
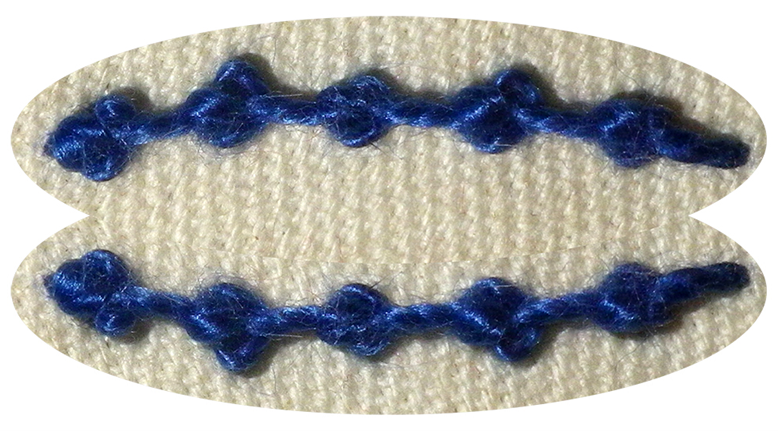
In the video clip at the bottom of this page, the small sample was worked with perle no. 5 thread on a curved line. If you wish to experiment with the stitch before you work it onto your project, draw a 20 to 30 mm curved line with a heat erasable pen.
Working the stitch:
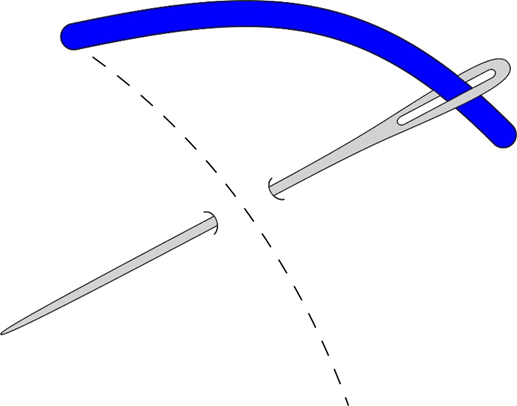
- Come up at the beginning of the line and, working downwards towards yourself, scoop under the line by going in on the right of the line and coming up on the left of the line and pulling through.
- How far down the line you make this first stitch will depend on whether you wish to start with a knot or a stitch. This mini-workshop shows you both options. The diagram above leaves sufficient space for a stitch whilst the video clip starts with the knot.
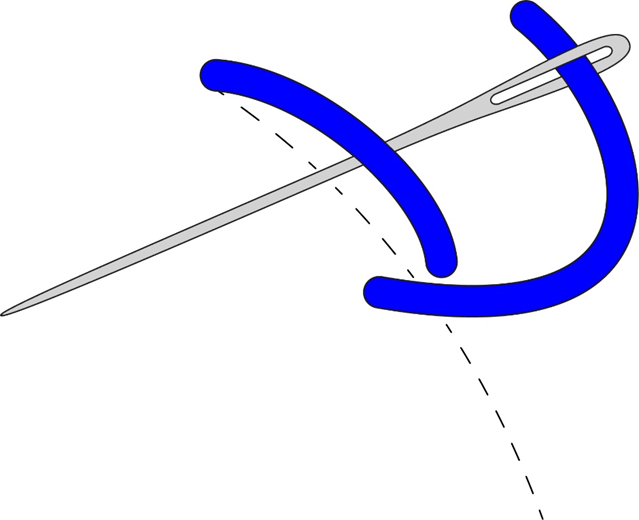
- From where you have come up on the left, go under the diagonal first stitch that you created in the first step.
- As you pull through, make sure that the thread you are pulling through is facing towards the top.
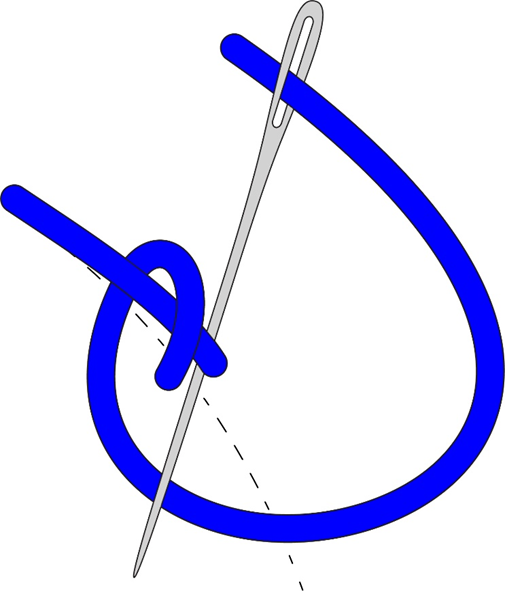
- Guide the working thread around towards the right and take the needle under the diagonal stitch, to the right of the loop that you worked in step 2 above.
- Making sure that the tip of the needle goes over the working thread that has come from the left, pull through to tighten the knot.
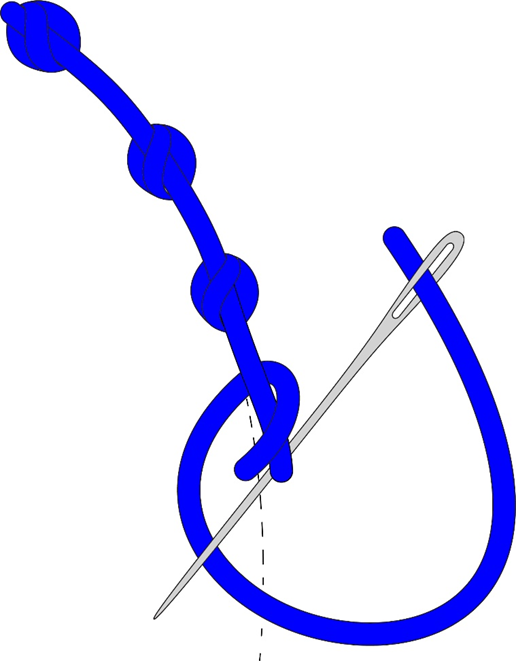
- Continue down the line repeating steps 1 to 3 above, spacing the knots as you need to. Depending on what you are doing with the stitch they could be closer or further apart.
- When you have completed the last knot at the bottom of the line, go into the fabric and end off at the back. Once again, you have a choice. You might take the needle into the fabric immediately after completion of the knot or you might make a longer stitch before you go into the fabric. It will all depend on what you are doing with the stitch.
And now for the video clip that covers all of the above.
(Don’t forget to click the icon in the bottom right-hand corner to get it to full screen).