There are a few varieties worked with and around bullion knots in the video clip on this page. They are listed in the table below, in the order is which they appear, with the starting time for each variety in the right-hand column.
| Basic Bullion Knots | 4 seconds |
| Bullion Lazy Daisy | 5 minutes 42 seconds |
| Bullion Lazy Daisy (double) | 6 minutes 45 seconds |
| Lazy Daisy Bullions | 10 minutes 33 seconds |
| Looped Bullion Knots | 11 minutes 53 seconds |
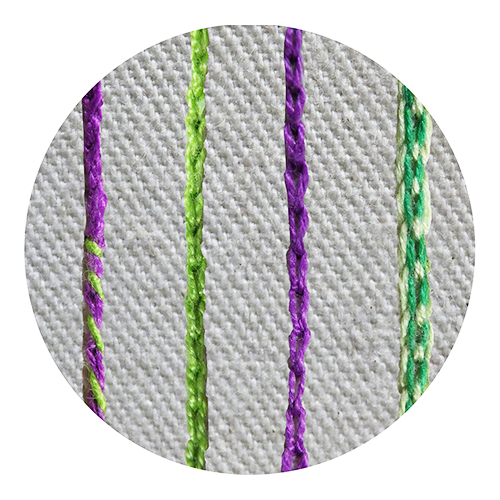
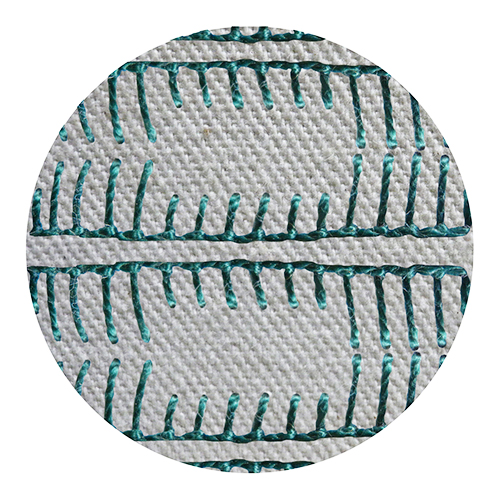
In the video clip on the tuition page, the small samples were worked with perle no. 5 thread on 2 parallel and horizontal straight lines. If you wish to experiment with the stitch before you work it onto your project, work on similar lines with similar thread.
- With a heat erasable pen, draw 2 horizontal parallel lines placing them about 10 mm apart.
The stitch instructions and diagrams appear below, with the video clip at the bottom of the page. If you would like a printable version, click here.
Working the knots:
You will note, when watching the video clip, that I work bullion knots in a way that is different to what is usually taught. By doing it my way, it makes it easier for you to work out exactly how many times you need to wrap the needle to fill the space between the two ends of the knot.
Work between the lines, starting on the top line and pulling towards yourself.
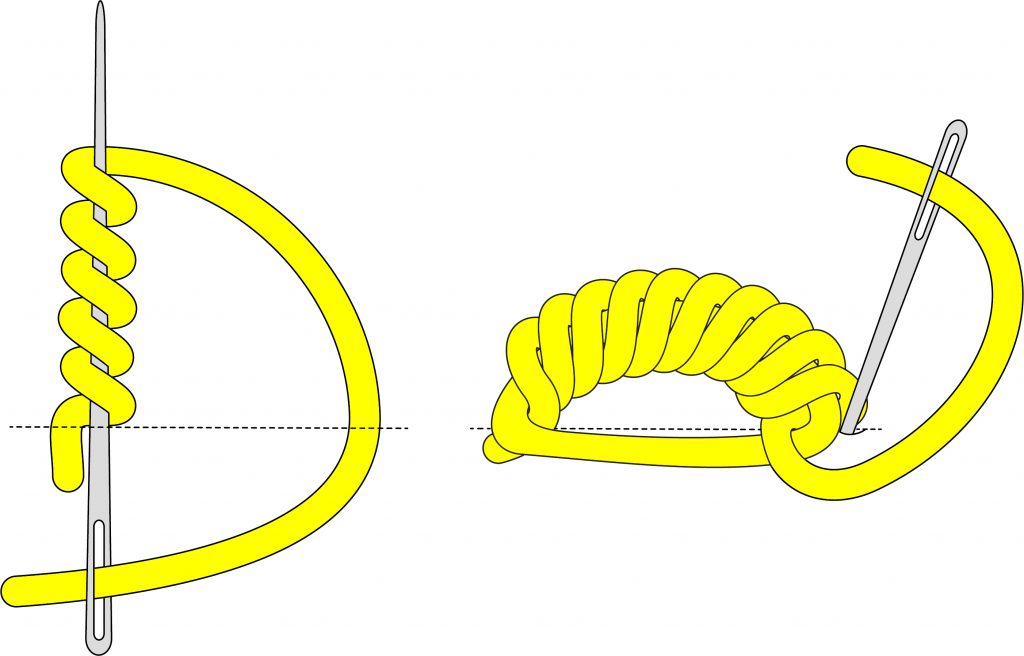
Bullion Knot
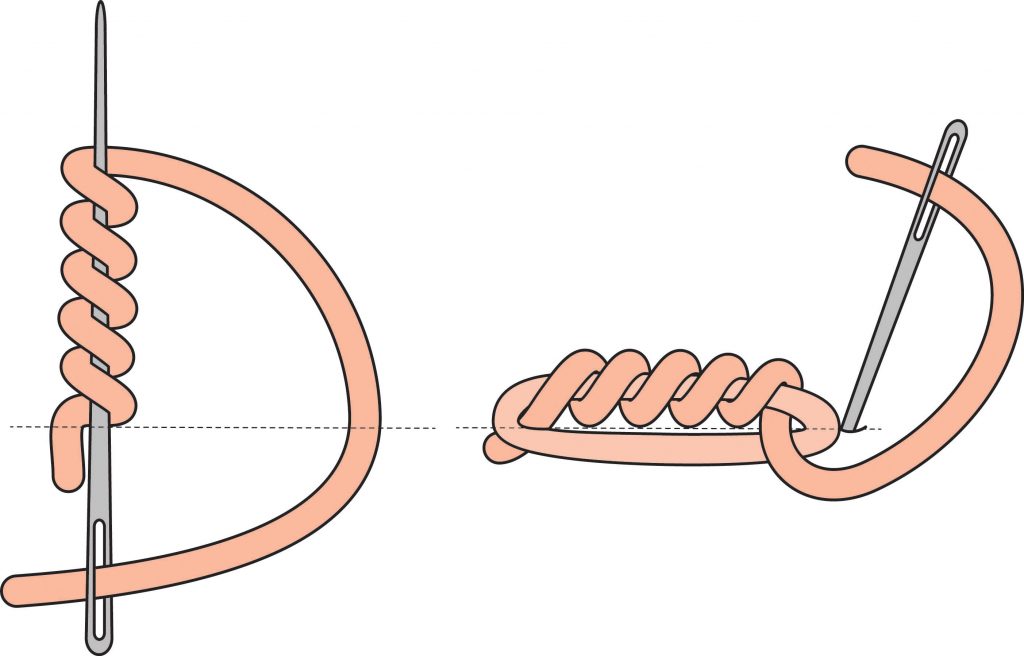
Come out of the fabric at the start of the space you wish to fill and go in again at the end of that space. Come out again at the start of the space. Leave a loop of thread on the top and don’t pull the needle all the way through the fabric. Twist the thread around the needle as many times as you require. Holding the twists with the thumb and forefinger of your left hand, pull the needle through. Pull the working thread until the knot lies flat and take the needle back into the fabric at the start of the space.
Bullion Lazy Daisy Stitch
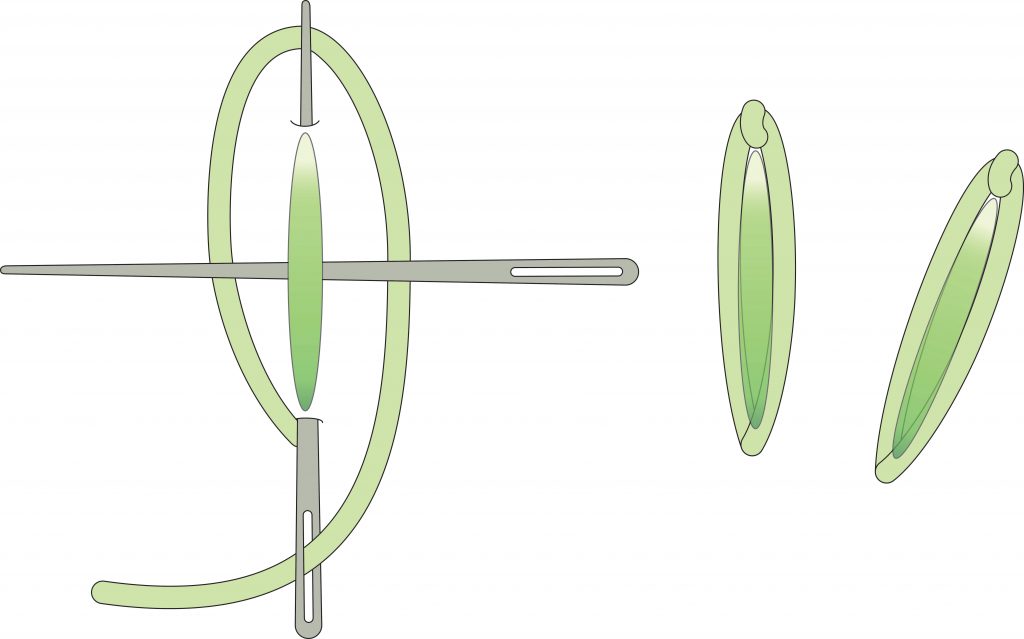
Following the guidelines for bullion knots above, work a knot of the required length. Insert a spare needle under the bullion knot as indicated in the diagram above. Bring the working needle up through the fabric just below the base of the bullion knot. Go back into the same hole coming up just about the tip of the bullion knot. Guiding the thread under both sides of the spare needle and under the tip of the working needle, pull through. When you tighten the lazy daisy stitch try to ensure that it lies slightly underneath the bullion knot. This will cause the knot to pop out a bit, making it more pronounced. Finish the lazy daisy stitch with a small couching stitch that catches the loop, holding it in place.
Bullion Lazy Daisy Stitch – double
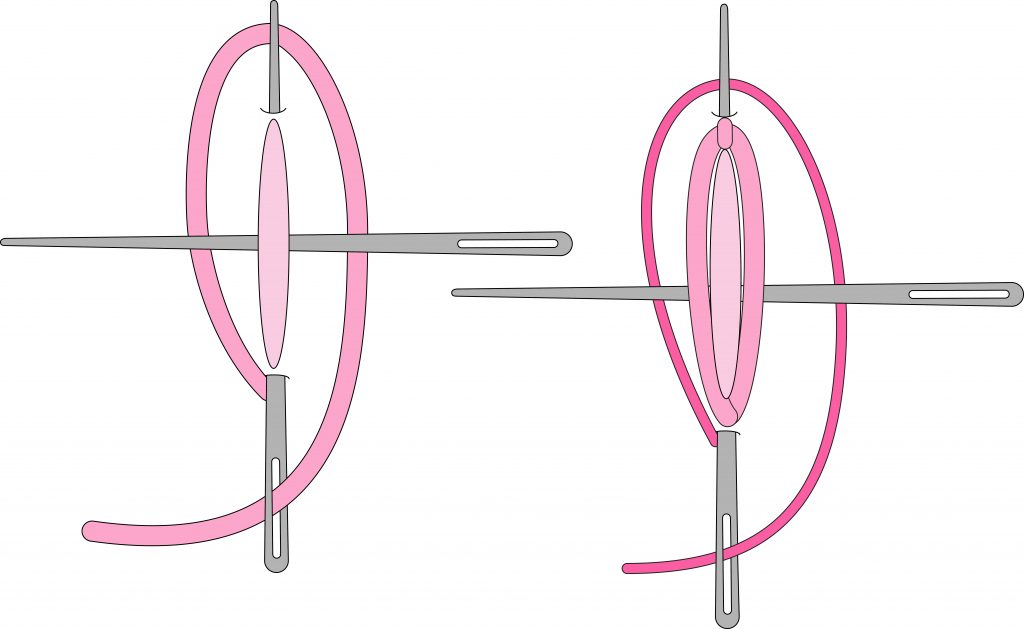
Following the guidelines for bullion knots above, work a knot of the required length. Insert a spare needle under the bullion knot as indicated in the diagram above. Bring the working needle up through the fabric just below the base of the bullion knot. Go back into the same hole coming up just about the tip of the bullion knot. Guiding the thread under both sides of the spare needle and under the tip of the working needle, pull through. When you tighten the lazy daisy stitch try to ensure that it lies slightly underneath the bullion knot. This will cause the knot to pop out a bit, making it more pronounced. Finish the lazy daisy stitch with a small couching stitch that catches the loop, holding it in place. Work a second lazy daisy stitch around the first one in the same way, tightening it to lie slightly under the first lazy daisy stitch.
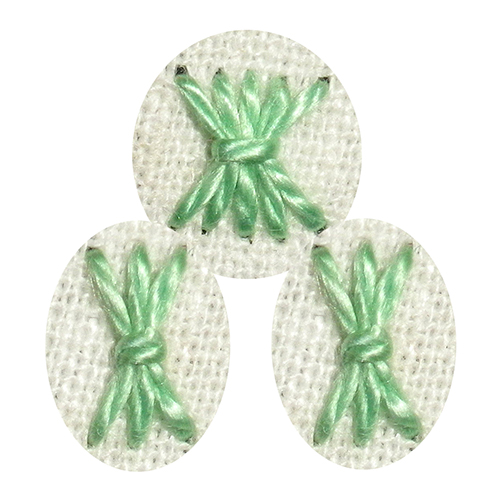
Lazy Daisy Bullions
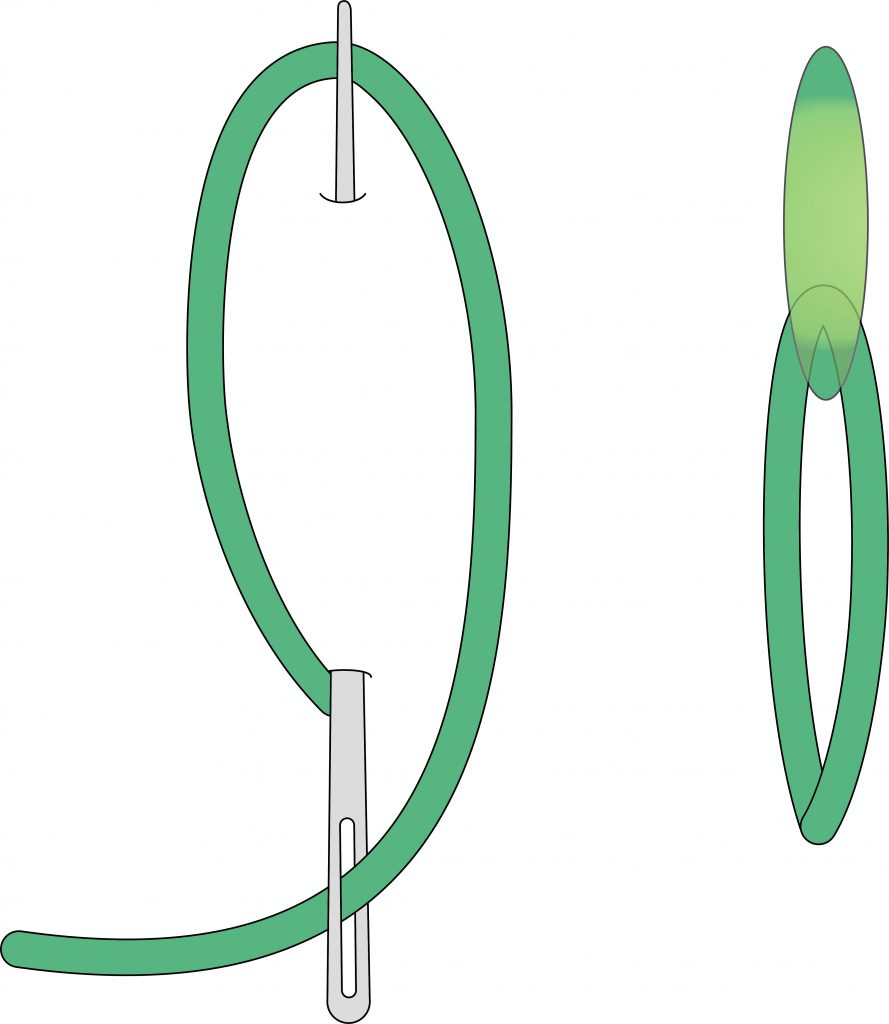
Bring the needle up at the base of what will be the detached chain stitch. Go back into the same hole and before pulling through, come up at what will be the tip of the detached chain stitch. Pull through. Under normal circumstances, you would finish the stitch with a small couching stitch. Instead, work a bullion knot (usually short, about 4 or 5 wraps).
Looped Bullion Knots
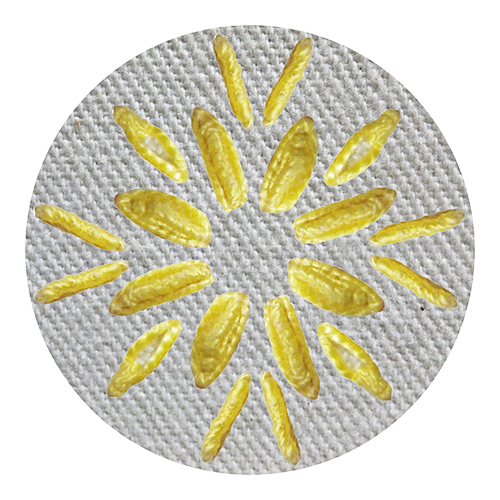
To make a looped bullion knot, do it in the normal way but wrap the thread more times than you need to fill the space available, so that the bullion knot will not lie completely flat but will loop up slightly. These are particularly useful for making bullion roses.
And now for the video clip that covers all of the above.
(Don’t forget to click the icon in the bottom right-hand corner to get it to full screen).