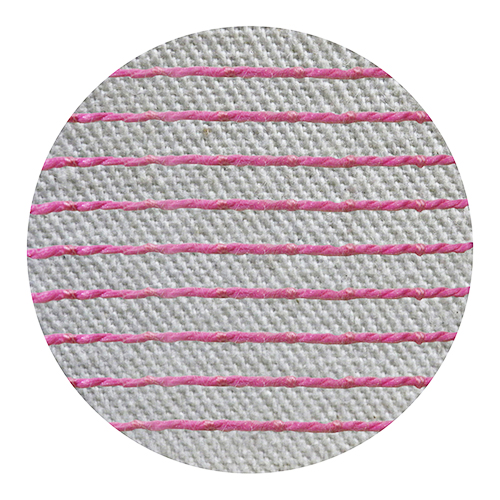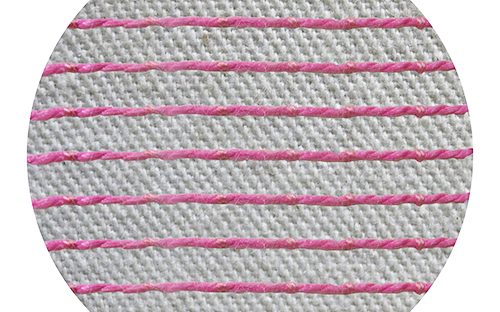
In the video clip on this page page, the small sample was worked with 2 colours of perle #5 thread on a 30 mm diameter circle. If you wish to experiment with the stitch before you work it onto your project, the template on the downloadable PDF instructions apply, and you should work with similar threads.
The stitch instructions and diagrams appear below, with the video clip at the bottom of the page. If you would like a printable version, click here.
- With a heat erasable pen, draw a 30 mm diameter circle.
Working the stitch:

- Use two threaded needles.
- On the first needle will be the thread that will be couched down. This could be a single strand, two strands, maybe a twisted thread or possibly a metallic thread.
- On the second needle will be the thread with which you will work the little couching stitches. This may be the same thread and colour as the couched thread, but you may choose to use a contrasting colour. Usually, it will be threaded with a single strand but this will all depend on what you are doing with the couching technique.
- Bring the first needle up at the beginning of the circle or line and park it.
- Using the second needle, work small stitches over the main thread. Come out of the fabric, take the needle over the couched thread and go back into the same hole you came out of.
- It is important that these stitches should not have a tight tension. If you pull too tightly, the couched thread will show kinks and you want it to look like a straight even line. So, when you pull the couching stitch through only pull until the thread is there, no tighter.
And now for the video clip that covers all of the above.
(Don’t forget to click the icon in the bottom right-hand corner to get it to full screen).

