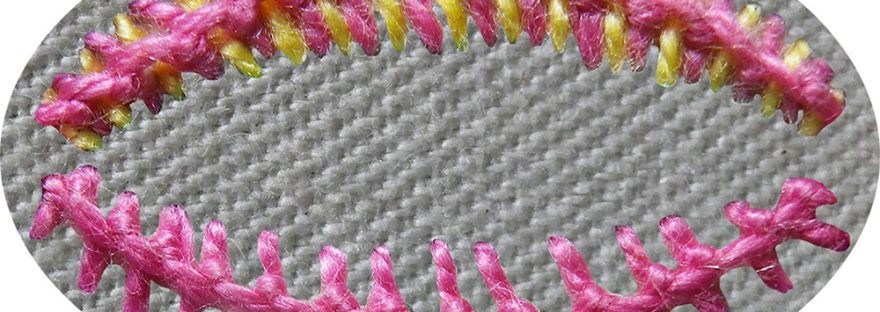
In the video clip on the tuition page, the small sample was worked with two colours of perle #5 thread on horizontal parallel lines of 5 cm, placed 1 cm apart. If you wish to experiment with the stitch before you work it onto your project, draw similar lines on your cloth with a heat erasable pen.
The stitch instructions and diagrams appear below, with the video clip at the bottom of the page. If you would like a printable version, click here.
Working the stitch:
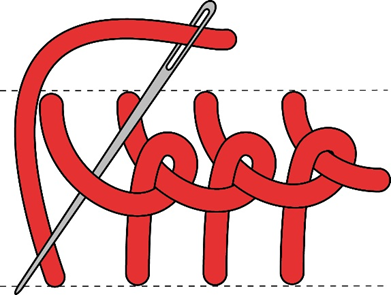
- Come up in the middle of the line that you wish to cover.
- Go in a little way to the left on the top line.
- Come up on the bottom line, directly below where you went in on the top line
- Go under the first stitch and over the working thread. Pull through.
- Go in at the top, to the left of where you went in last time.
- Come up at the bottom and go under the second stitch, over the loop of thread and pull through.
- Repeat as required.
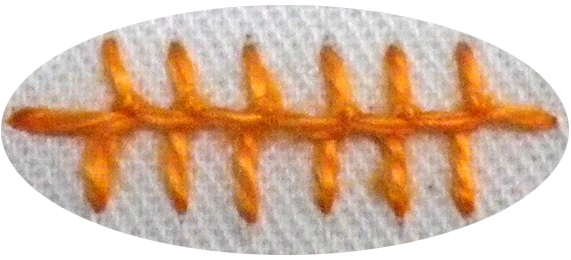
If the rib that is created down the centre line is not sitting where you would like it to be, it can be moved by adjusting the tension of the stitches.
And now for the video clip that covers all of the above.
(Don’t forget to click the icon in the bottom right-hand corner to get it to full screen).