Downloadable and printable instructions
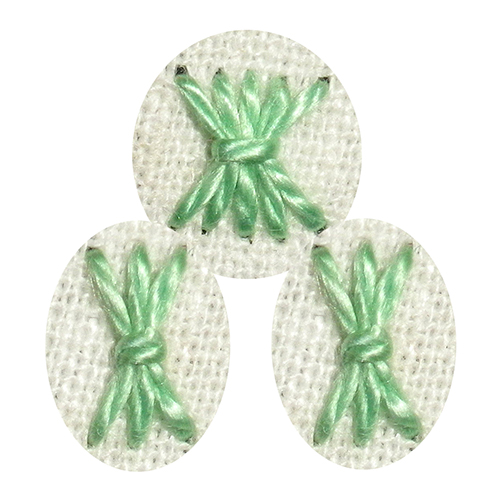
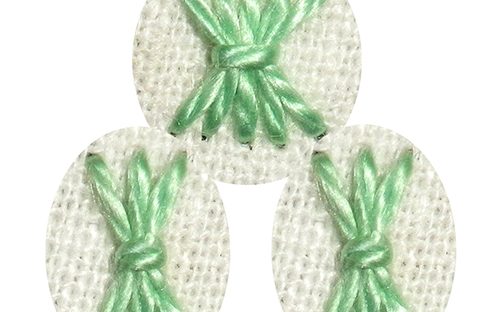
This pleasant little stitch comprises 3 or 5 vertical parallel stitches, placed slightly apart and drawn together with a couching stitch in the middle, giving them the look of a sheaf from which the name derives. It is usually better to work a few of them together and they are particularly nice when worked as part of the random freestyle embroidery technique.
In the video clip at the bottom of this page, the small samples were worked with perle #5 thread between parallel lines that are 8 mm apart. If you wish to experiment with the stitch before you work it onto your project, draw similar lines on your cloth with a heat erasable pen, using the template on the downloadable instructions.
Working the stitch:

- Start by working the straight stitch in the centre.
- Come up at the top and go in at the bottom.
- Come up again at the top on the left of the straight stitch.

- Go in at the bottom making sure that the space left between the stitches is the same at the top and the bottom.
- Come up again at the top to the right of the middle stitch. Try to keep the spacing between the stitches as even as possible.

- Go in at the bottom, making sure that the space left between the stitches is the same at the top and the bottom.
- Before you pull through, come up adjacent to the middle of the first, or centre stitch. Make sure the loop of the third stitch is to the left of the needle.

- Working to the left, take the thread over all of the stitches and work a couching stitch, going back into the same hole that you came out of on the right of the middle stitch.

- A wider stitch can be worked with 5 parallel stitches that are drawn together with a couching stitch.
Tip: without overdoing it, my personal experience is that longer parallel straight stitches make a better sheaf stitch so, err on the long rather than the short side.
And now for the video clip that covers all of the above.
(Don’t forget to click the icon in the bottom right-hand corner to get it to full screen).

