Downloadable and printable PDF instructions.
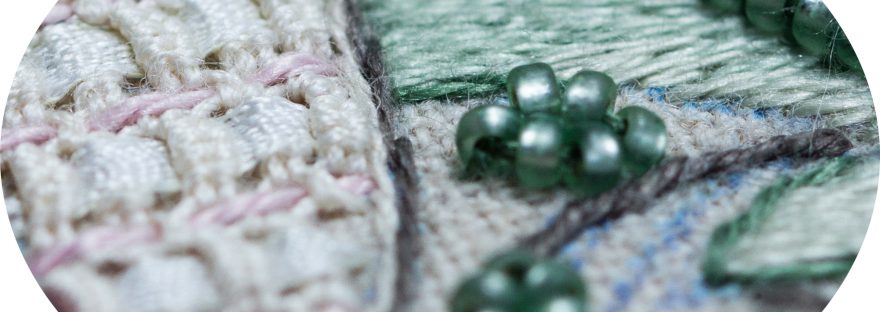
Worked with loops of beads that exit and go back into a single bead for stability, this stitch is a useful depiction of leaves or petals, especially when used together with 3-dimensional beadwork flowers.
Best worked with nylon beading thread, it can also be worked with doubled-over strands of embroidery thread, chosen to match the shade of the beads. The samples in the video clip have been worked with size 11° beads, slightly bigger than I would normally work with but used for the sake of clarity in the video. I would normally work with size 15° beads.

Working the stitch:

- With a single strand of beading thread, or a doubed-over strand of stranded cotton on a size 12 bead embroidery or sharps quilting needle, come up at the point where you want the base of the stitch to be.
- Pick up 6 beads.
| Or a few more if you like, depending on how long you want the stitches to be – within reason. You can’t make them too long or, indeed too short. However many you pick up, it should always be an even number so that once you go back into the first bead, you are left with a loop that is made up of an uneven number of beads. |
- Go back down the first bead, going into the fabric at the same time.
- Pull through and whilst doing that, manipulate the 5 beads that remain so that they form an even loop.

- Lay the bead loop flat with your finger to estimate where the middle bead of the loop will lie and come up slightly beyond the bead loop. It needs to be ever so slightly beyond, so that when you attach the loop to the fabric, it stretches the loop and it lies flatter than if you were too close.
- Referring to the illustration above, take the needle and thread through the closest bead. This is the 4th bead that you picked up as that will be the middle bead of the loop that is the ‘chain’.

- Go back into the same hole that you came out of, pulling the bead loop towards the stitch as you tighten.

- Unlike thread, glass beads are somewhat inflexible and, if you are doing a few bead lazy daisies close together, make sure that you leave enough space between them so that they don’t jostle one another.
And now for the video clip that covers all of the above.
(Don’t forget to click the icon in the bottom right-hand corner of each video to get it to full screen).

