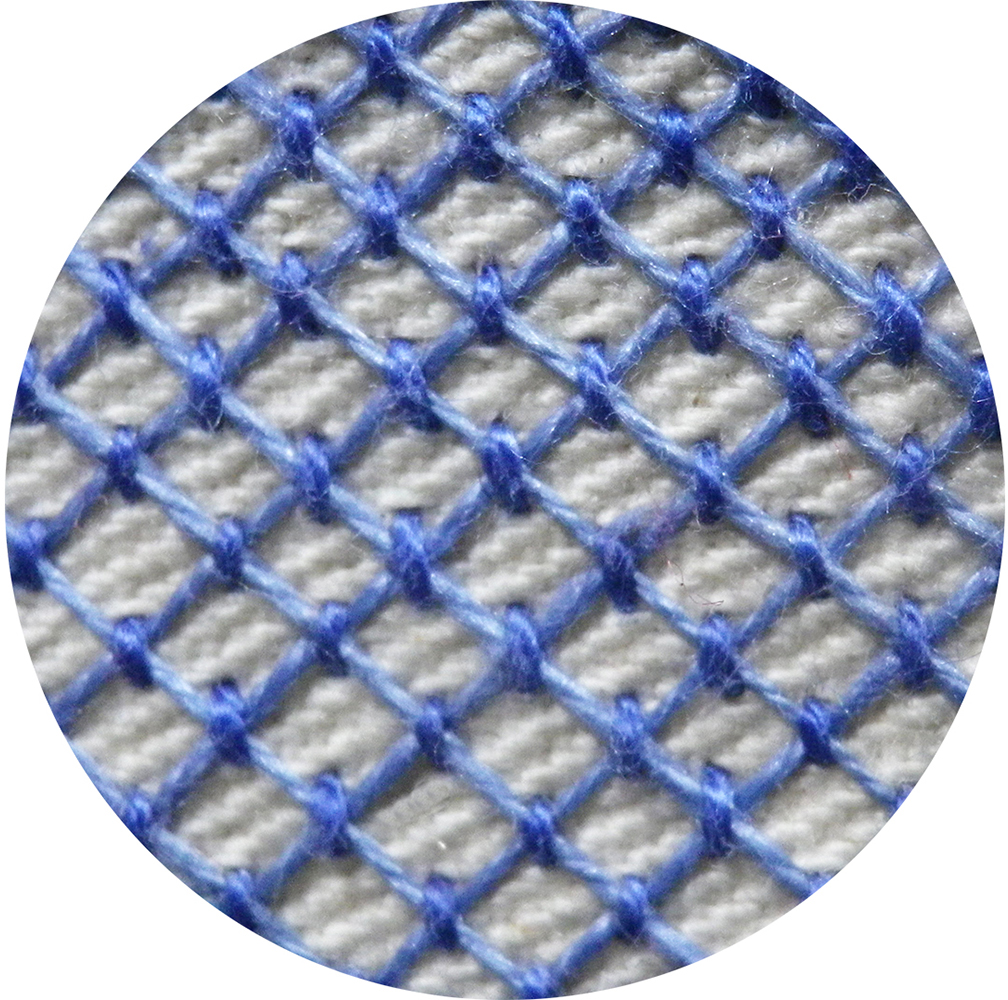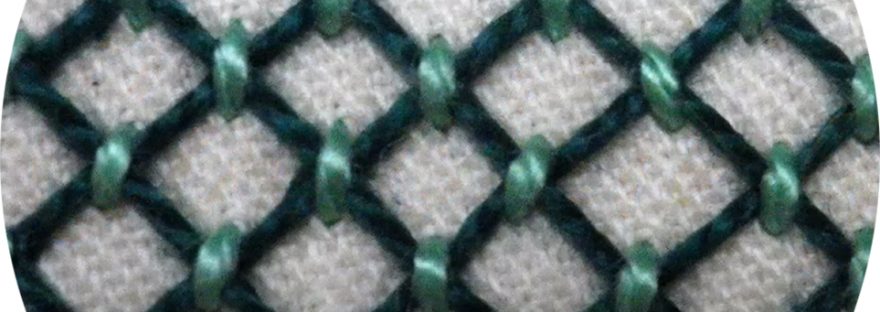
Trellis couching is one of the mainstays of Crewel Embroidery.
In the video clip on this page, the small sample was worked with perle no. 5 thread on a circle measuring 30 mm in diameter. If you wish to experiment with the stitch before you work it onto your project, there is a template for the circle on the downloadable PDF instructions, and you should work with similar threads.
The stitch instructions and diagrams appear below, with the video clip at the bottom of the page. If you would like a printable version, click here.
- With a heat erasable pen, draw a 30 mm diameter circle.
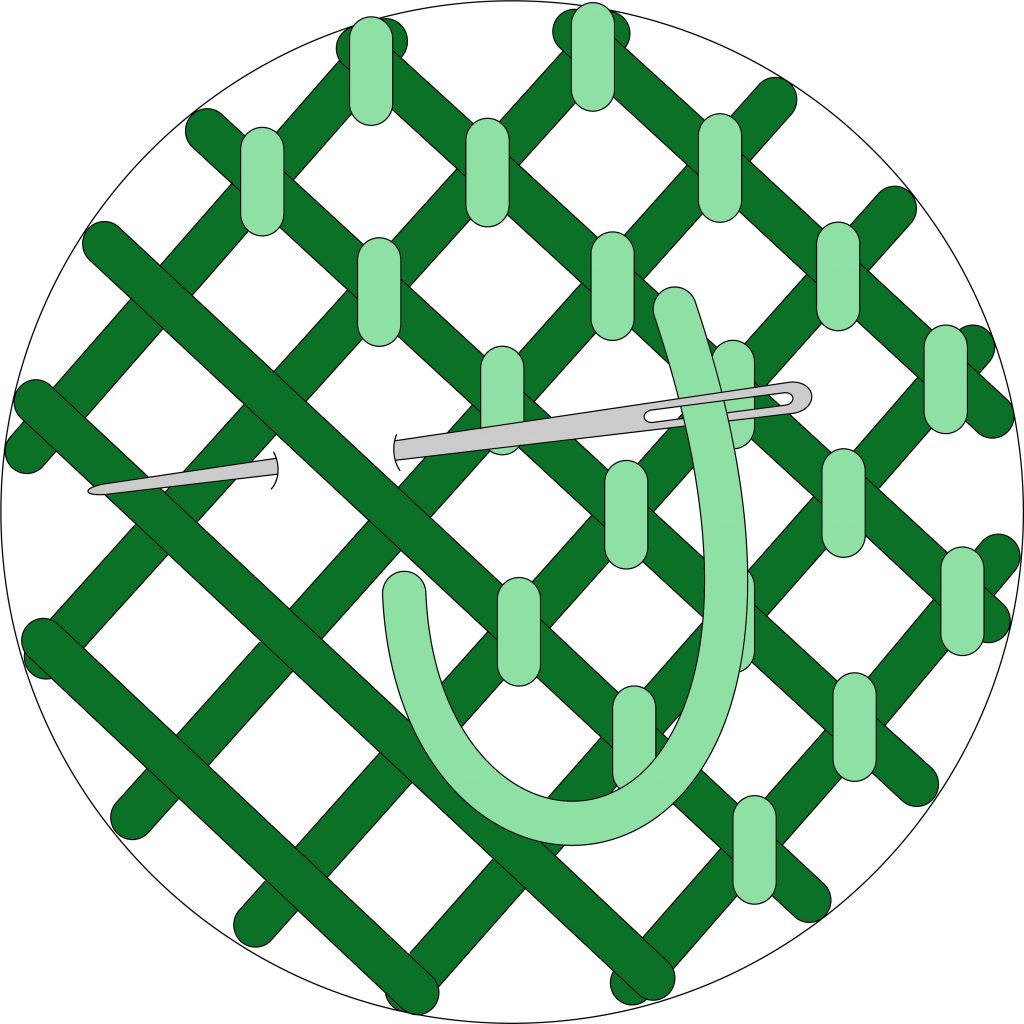
- Placing the lines 5 mm apart, draw a diagonal grid over the circle, as depicted in the diagram above.
Working the stitch:

- Using thread colour no. 1 (dark green in the above diagram), work a layer of long straight stitches across the area. These can be vertical or diagonal.
- Work another layer of long straight stitches that are placed at right angles to the first layer.
- Using thread colour no. 2 (light green in the above diagram), work small, straight couching stitches over the intersection of the stitches. In general, the couching stitches should be just long enough to cover the intersection, but should not push the layers of long straight stitches out of place. You can choose, however, to make them longer. The direction of these stitches – whether vertical or horizontal – does not matter, provided they all go in the same direction.
And now for the video clip that covers all of the above.
(Don’t forget to click the icon in the bottom right-hand corner to get it to full screen).

